
NinjaRMM Tutorial
If you use NinjaRMM, this tutorial will help you onboard your users to Control D.
Install
Create Provisioning Code
First thing you have to do is create a Provisioning code in the Control D web panel. Go to Endpoints and click the Provision button.

Then click the + button and fill out the form.
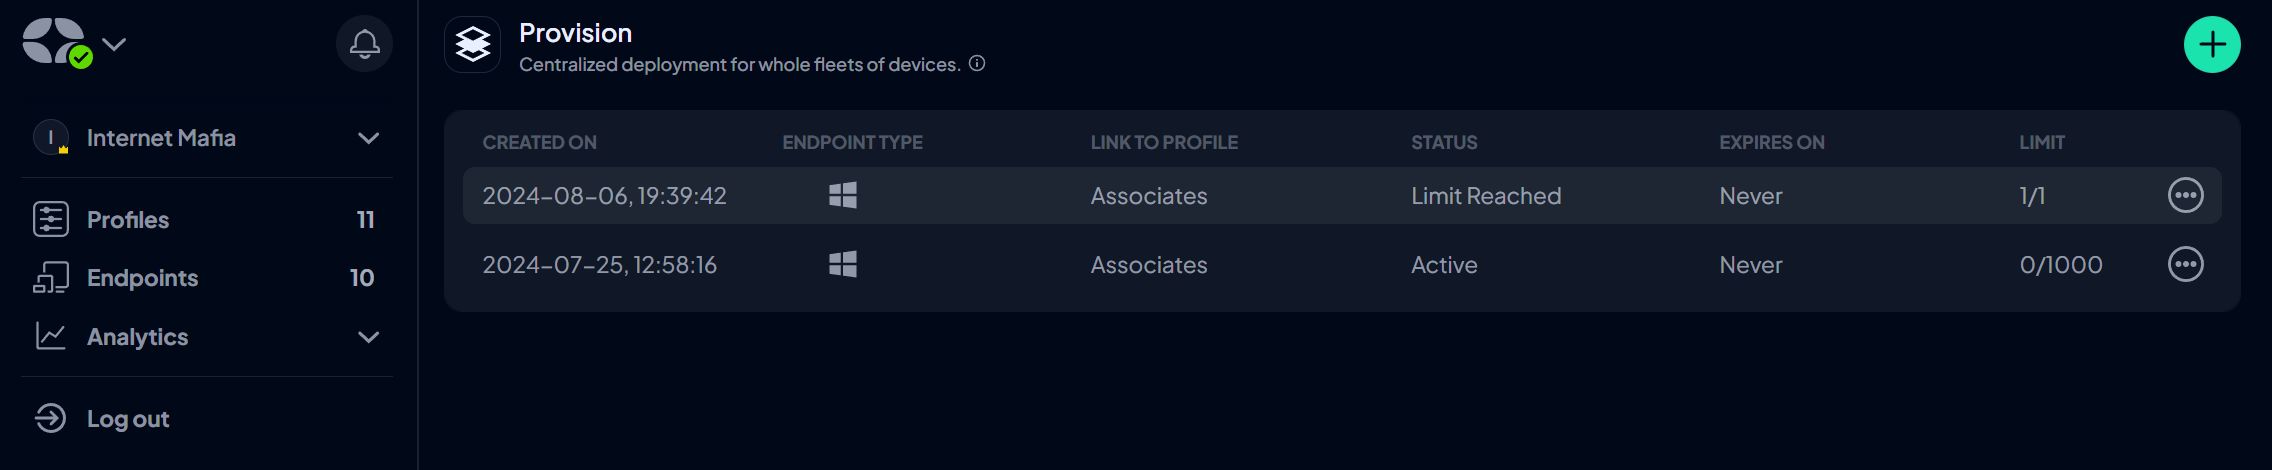
You should see an install command. Copy it.

Expiry Time and LimitBe sure to select the appropriate expiry time and execution limit for the Provisioning code. When this time passes, or the limit is reached, the code will become invalid and cannot be used anymore to provision new Devices. Same applies if you delete this code.
Create Script
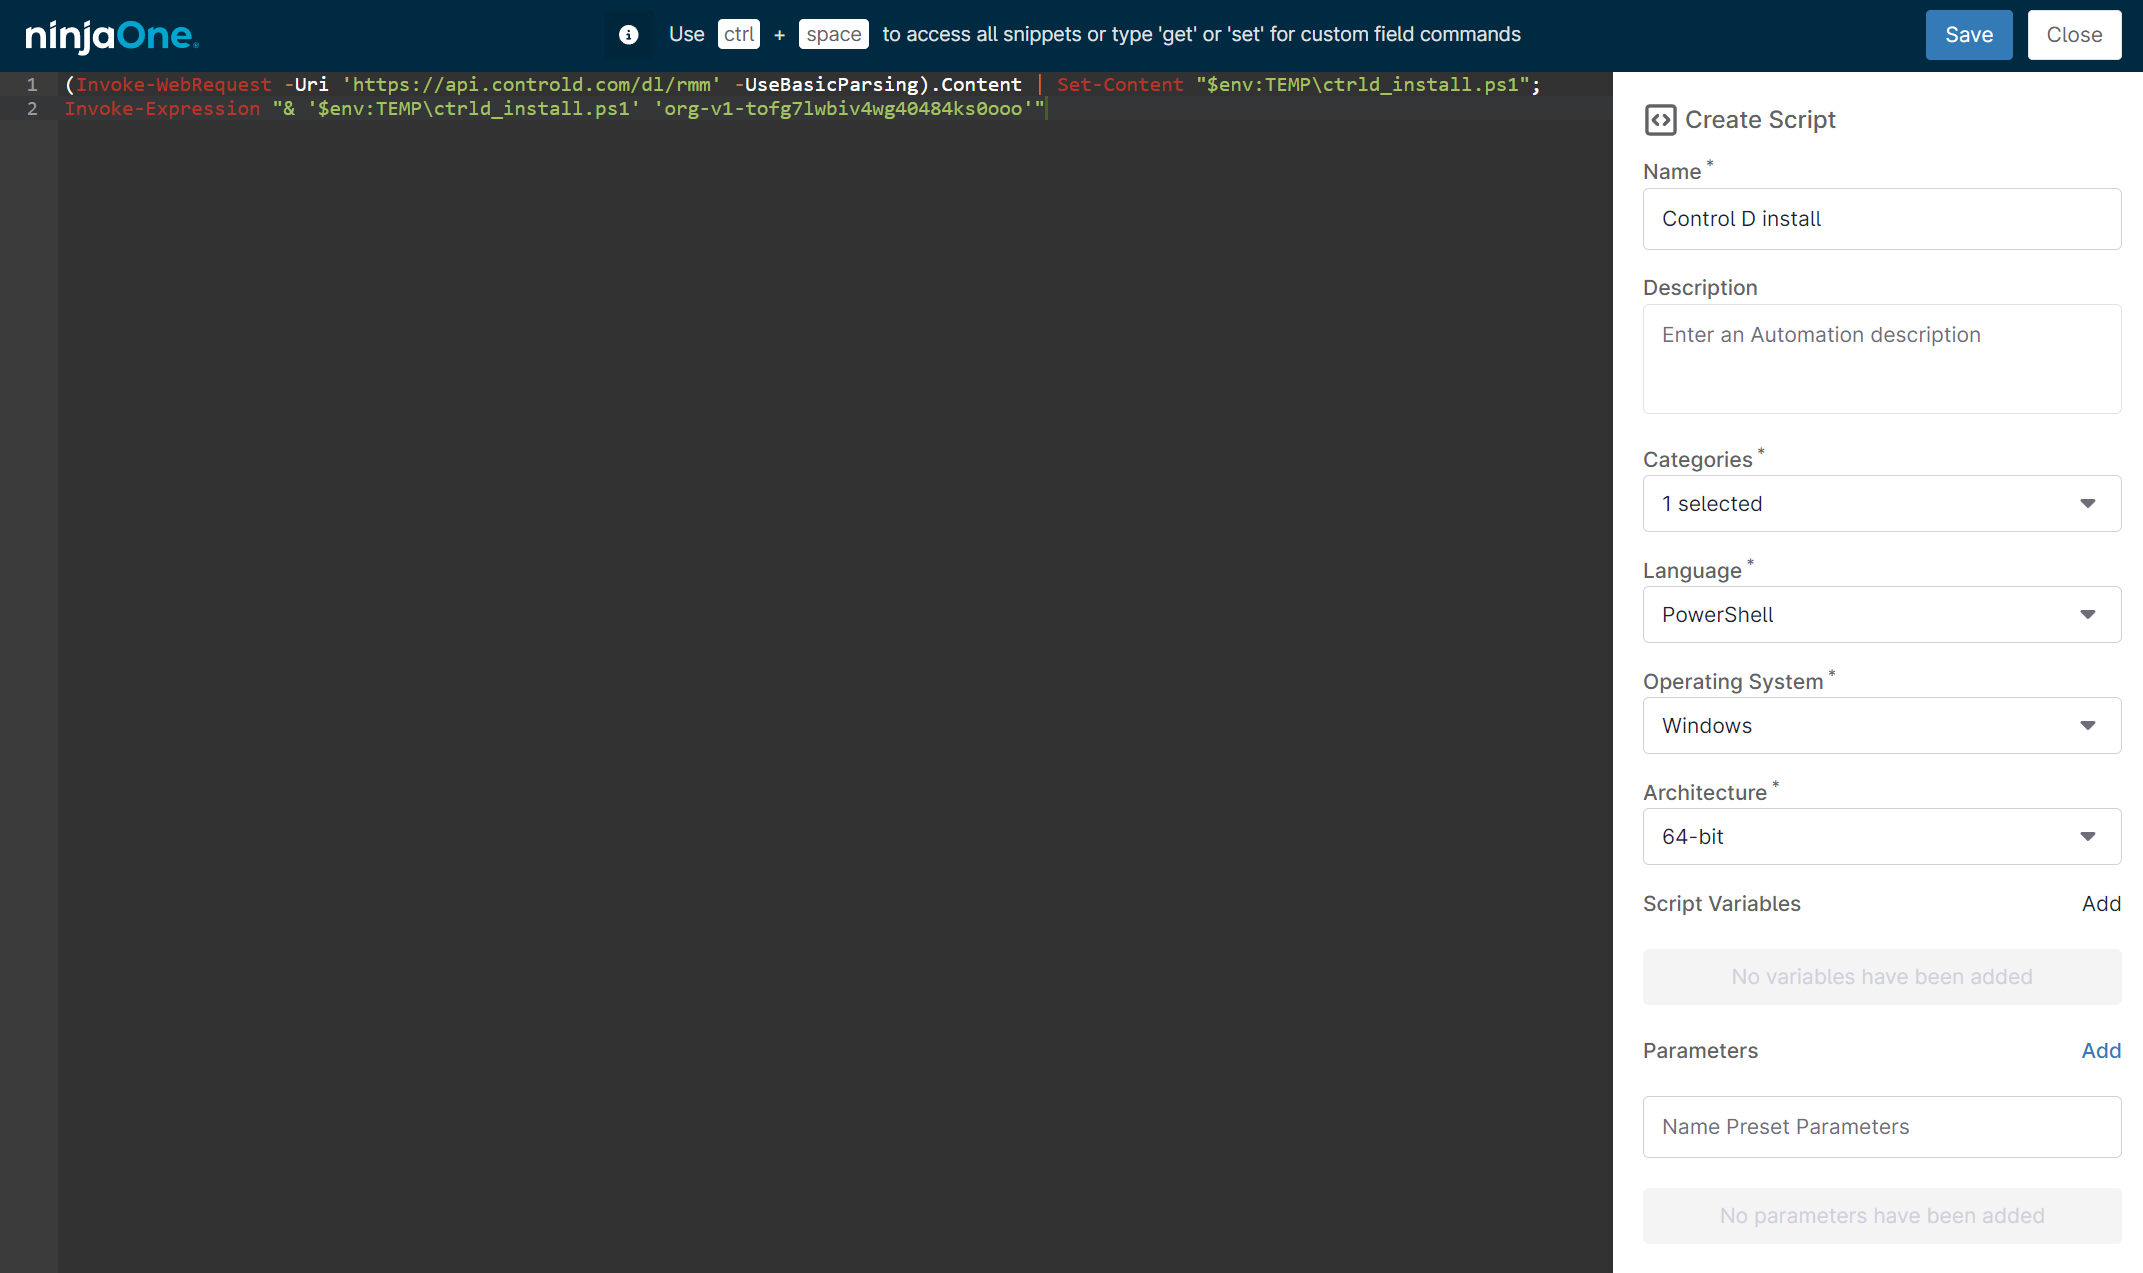
Now let's create an install script in NinjaRMM. Go to Administration -> Library -> Automation, click the Add button and choose New Script.
Paste the command into the box, choose Language = PowerShell, fill out the rest of the fields as required, and press Save.
Execute Script
In NinjaRMM, go to your Devices list. Choose the desired devices, select Run -> Run Automation -> Script.
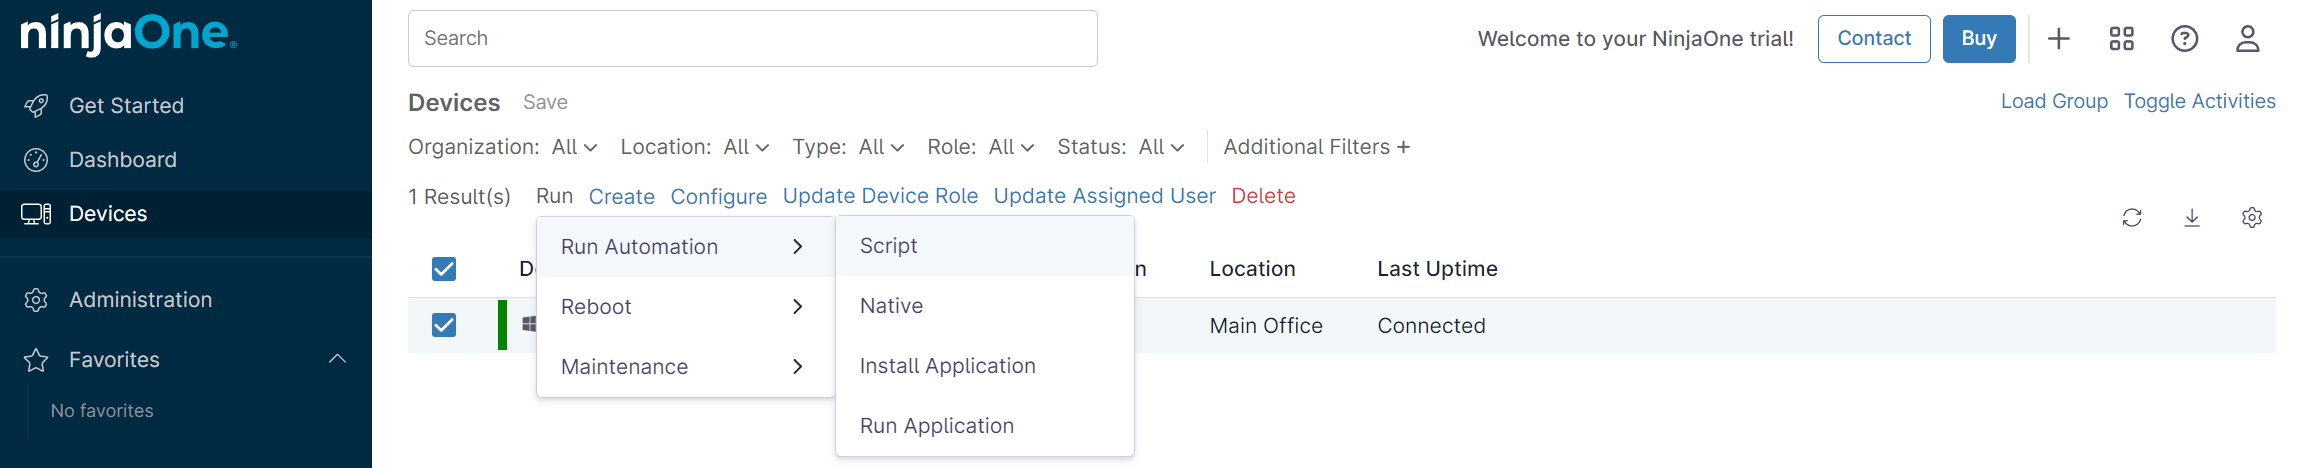
Then choose the script you just created, and Run it as System. Within a few seconds, you should see this in your Activities log for the relevant device in NinjaRMM.
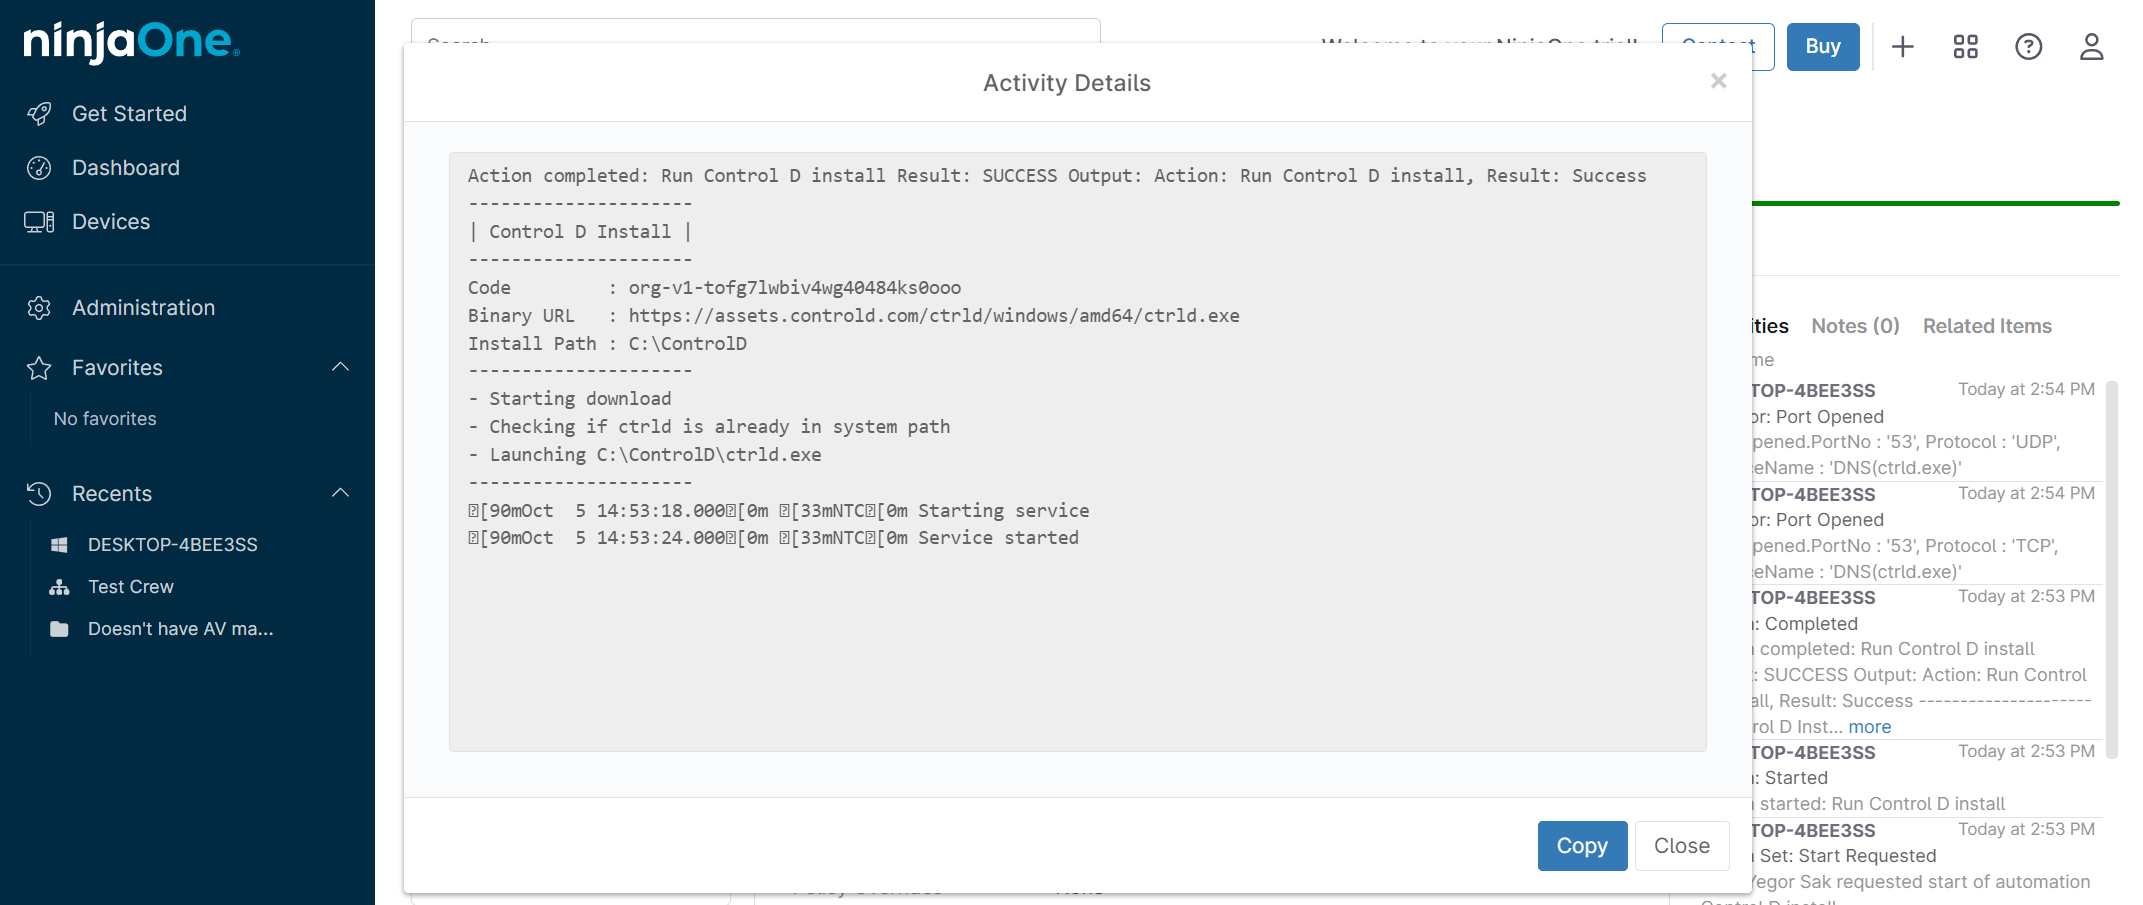
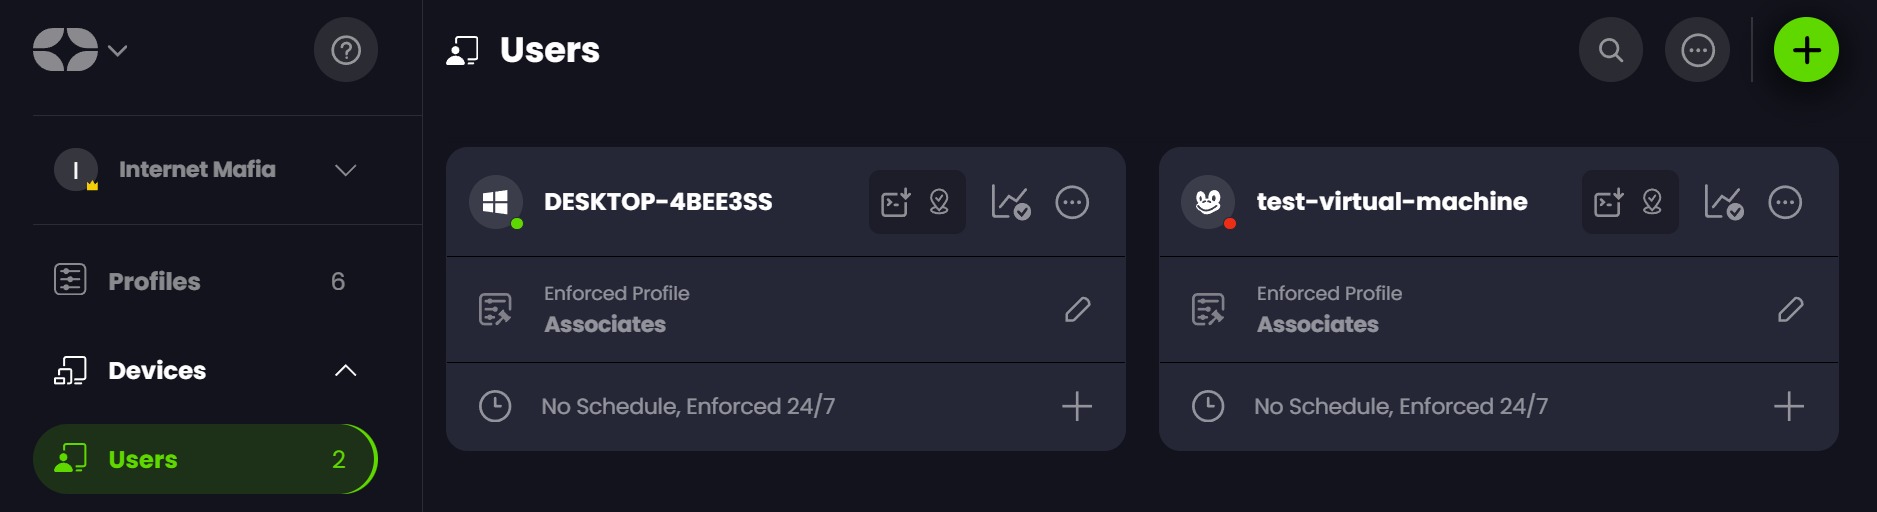
That's it! You're done. If you go to Control D web panel, you should see your Devices popup in the Users section.
Upgrade
To upgrade the ctrld daemon to the latest version, create a new (batch or Powershell) script with the following contents:
ctrld upgradeThen execute it on target machines.
Uninstall
If you wish to uninstall the ctrld client, create a new (batch or Powershell) script with the following contents:
ctrld uninstallThen execute it on target machines.
Updated 9 months ago