
Jamf MDM Tutorial
Deploy Control D to your MacOS.
1. Create your Provisioning Token
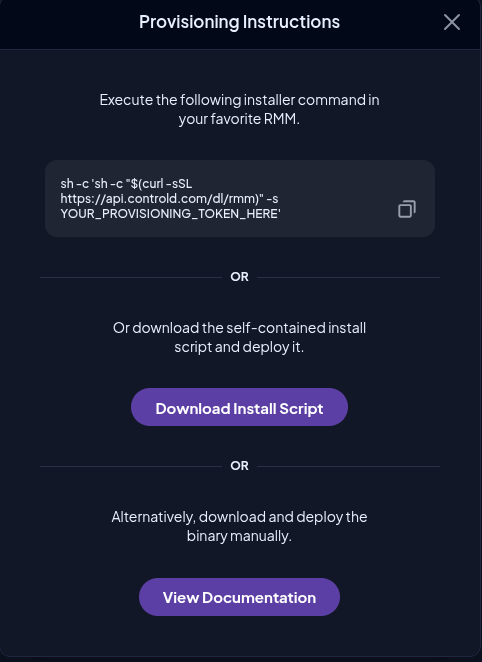
First thing you have to do is create a Provisioning code in the Control D Dashboard. Go to Provision, and click the + button. Fill out the form, and you should see an install command as well as a button to Download Install Script.
Expiry Time and LimitBe sure to select the appropriate expiry time and execution limit for the Provisioning code. When this time passes, or the limit is reached, the code will become invalid and cannot be used anymore to provision new Endpoints. Same applies if you delete this code.
2. Create a Shell Script in Jamf Pro
- Log in to Jamf Pro
- Navigate to Settings → Computers Management → Scripts.
- Click New.
- Name it something like: Control D Agent Installation.
- In the Script field, paste the following template (replace
YOUR_PROVISIONING_TOKEN_HEREwith the provisioning token generated in the previous steps):
#!/bin/bash

# Download and install Control D agent
sh -c 'sh -c "$(curl -sSL https://api.controld.com/dl/rmm)" -s YOUR_PROVISIONING_TOKEN_HERE'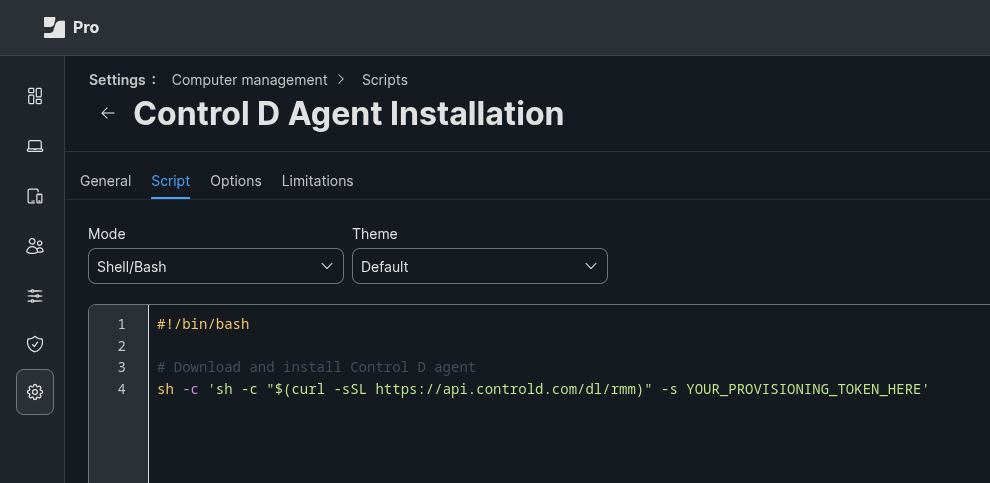
- Click Save.
3. Create a Policy to Deploy the Script
- Go to Computers → Policies.
- Click New.
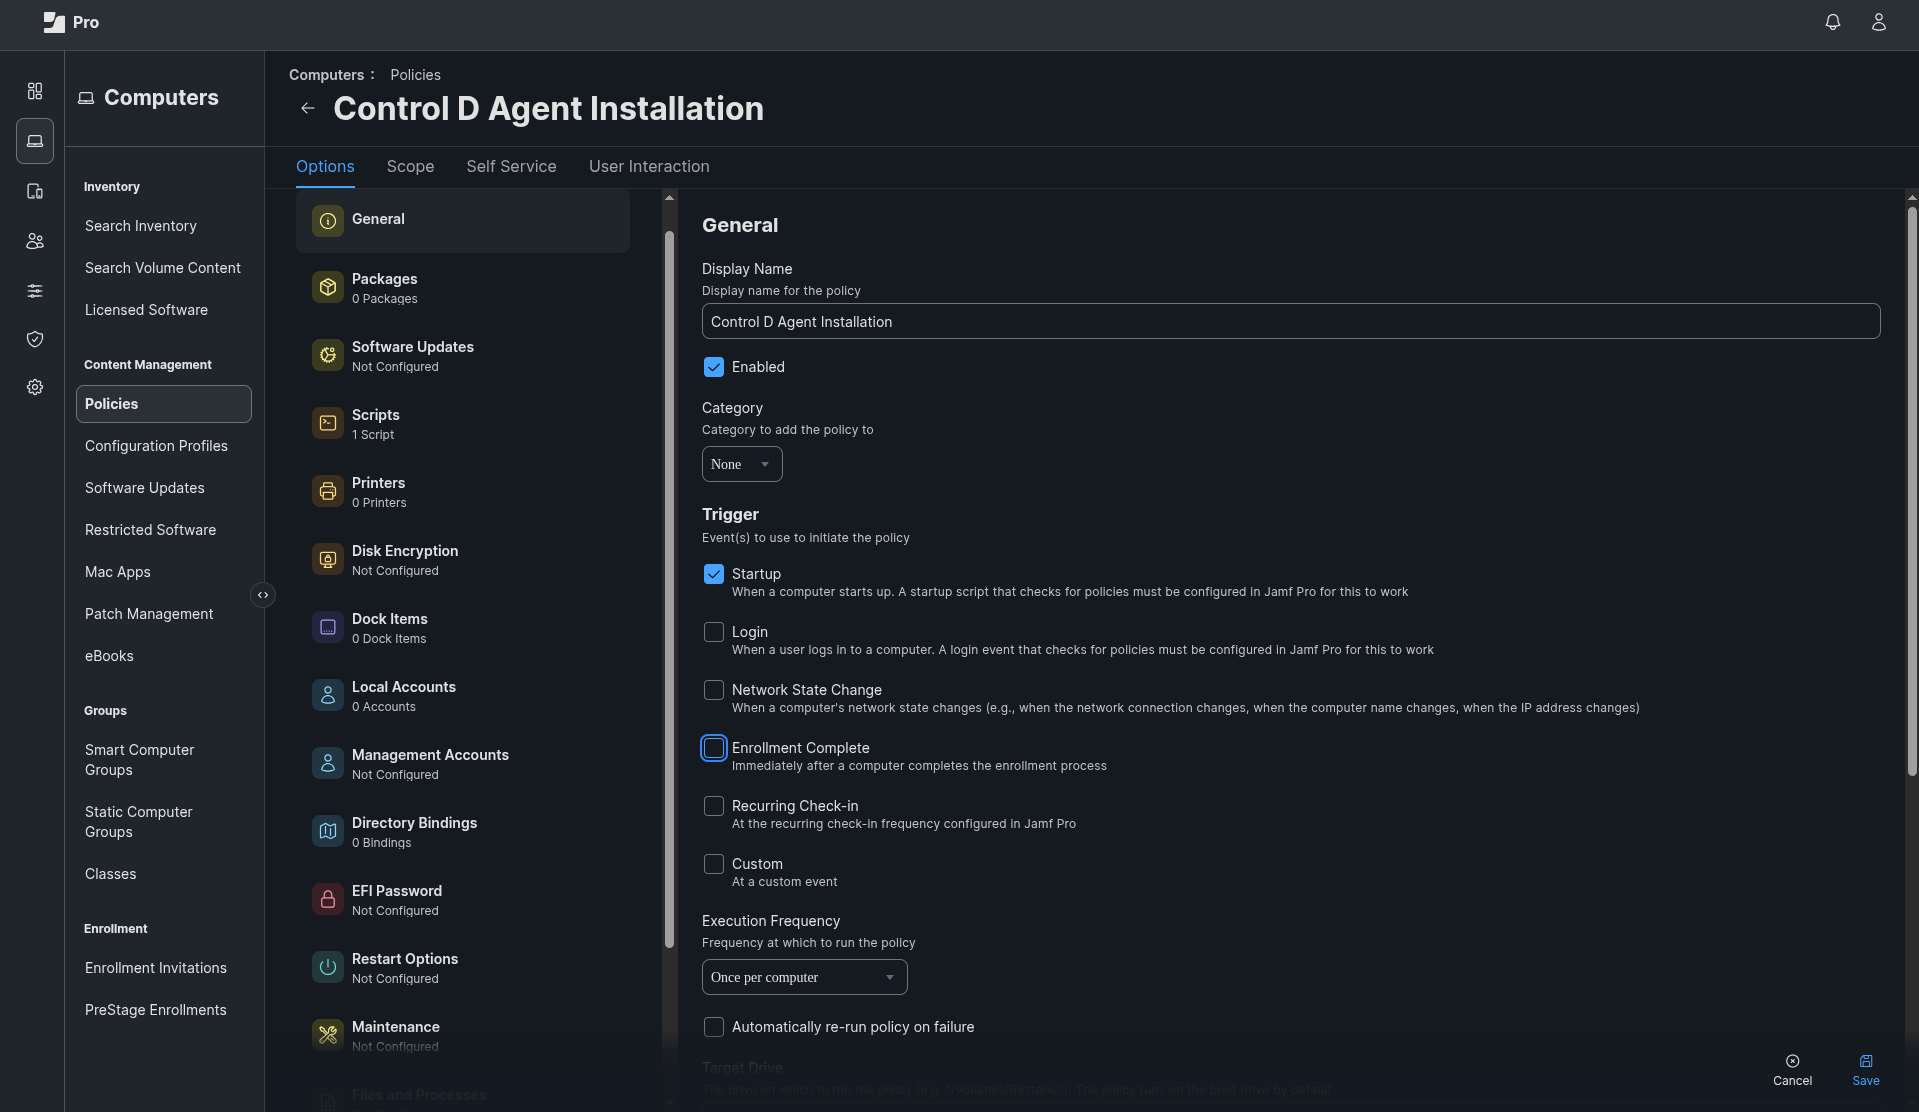
- Set a descriptive name: Control D Agent Deployment.
- Under General:
• Set Trigger to Recurring Check-in, Enrollment Complete, or manually via Self Service.
• Set Execution Frequency: Once per computer (recommended). - Under Scripts:
• Click Configure.
• Add the Install ctrld Agent script. - Under Scope:
• Target all Macs or a Smart Group with qualifying devices. - (Optional) Under Maintenance or Files and Processes, enable Update Inventory to confirm installs.
- Save the policy.
4. Test Deployment
Pick one Mac from your test group and run the following to force a Jamf policy check in:
sudo jamf policy -verbose- Confirm installation:
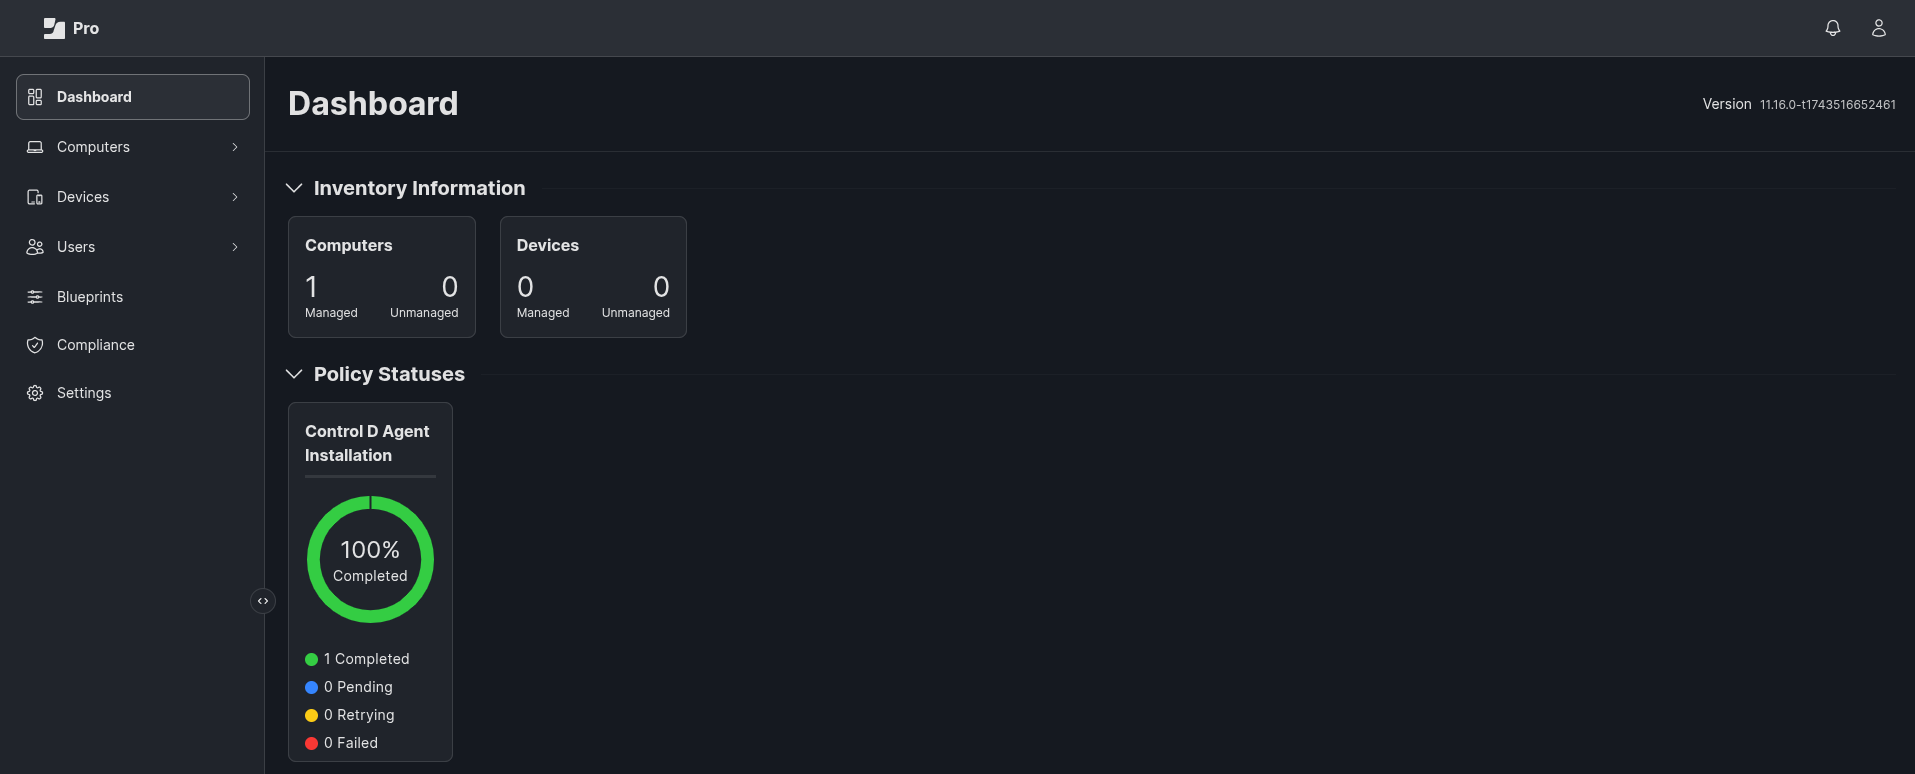
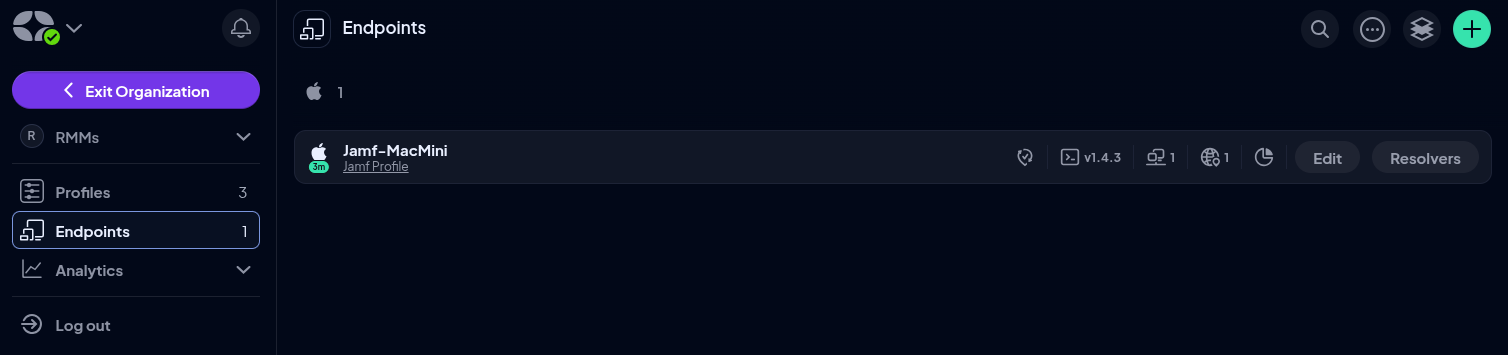
sudo ctrld statusYou can monitor your deployment from the Jamf dashboard:
Your devices should appear in your Control D Web Dashboard:
Prevent DeactivationOnly applies to end users with administrative access.
While you can prevent deactivation by setting a PIN code - users with admin rights can disable the ctrld login item via the MacOS Settings App.
To prevent this - you can deploy Configuration Profile which will prevent deactivation.
-
Go to: Computers → Configuration Profiles → New
-
Choose:
- macOS
- Give the profile a name, e.g.,
Managed Login Item - ctrld
-
Under Privacy & Security, click Login Items
-
Click Add under “Login Items”
-
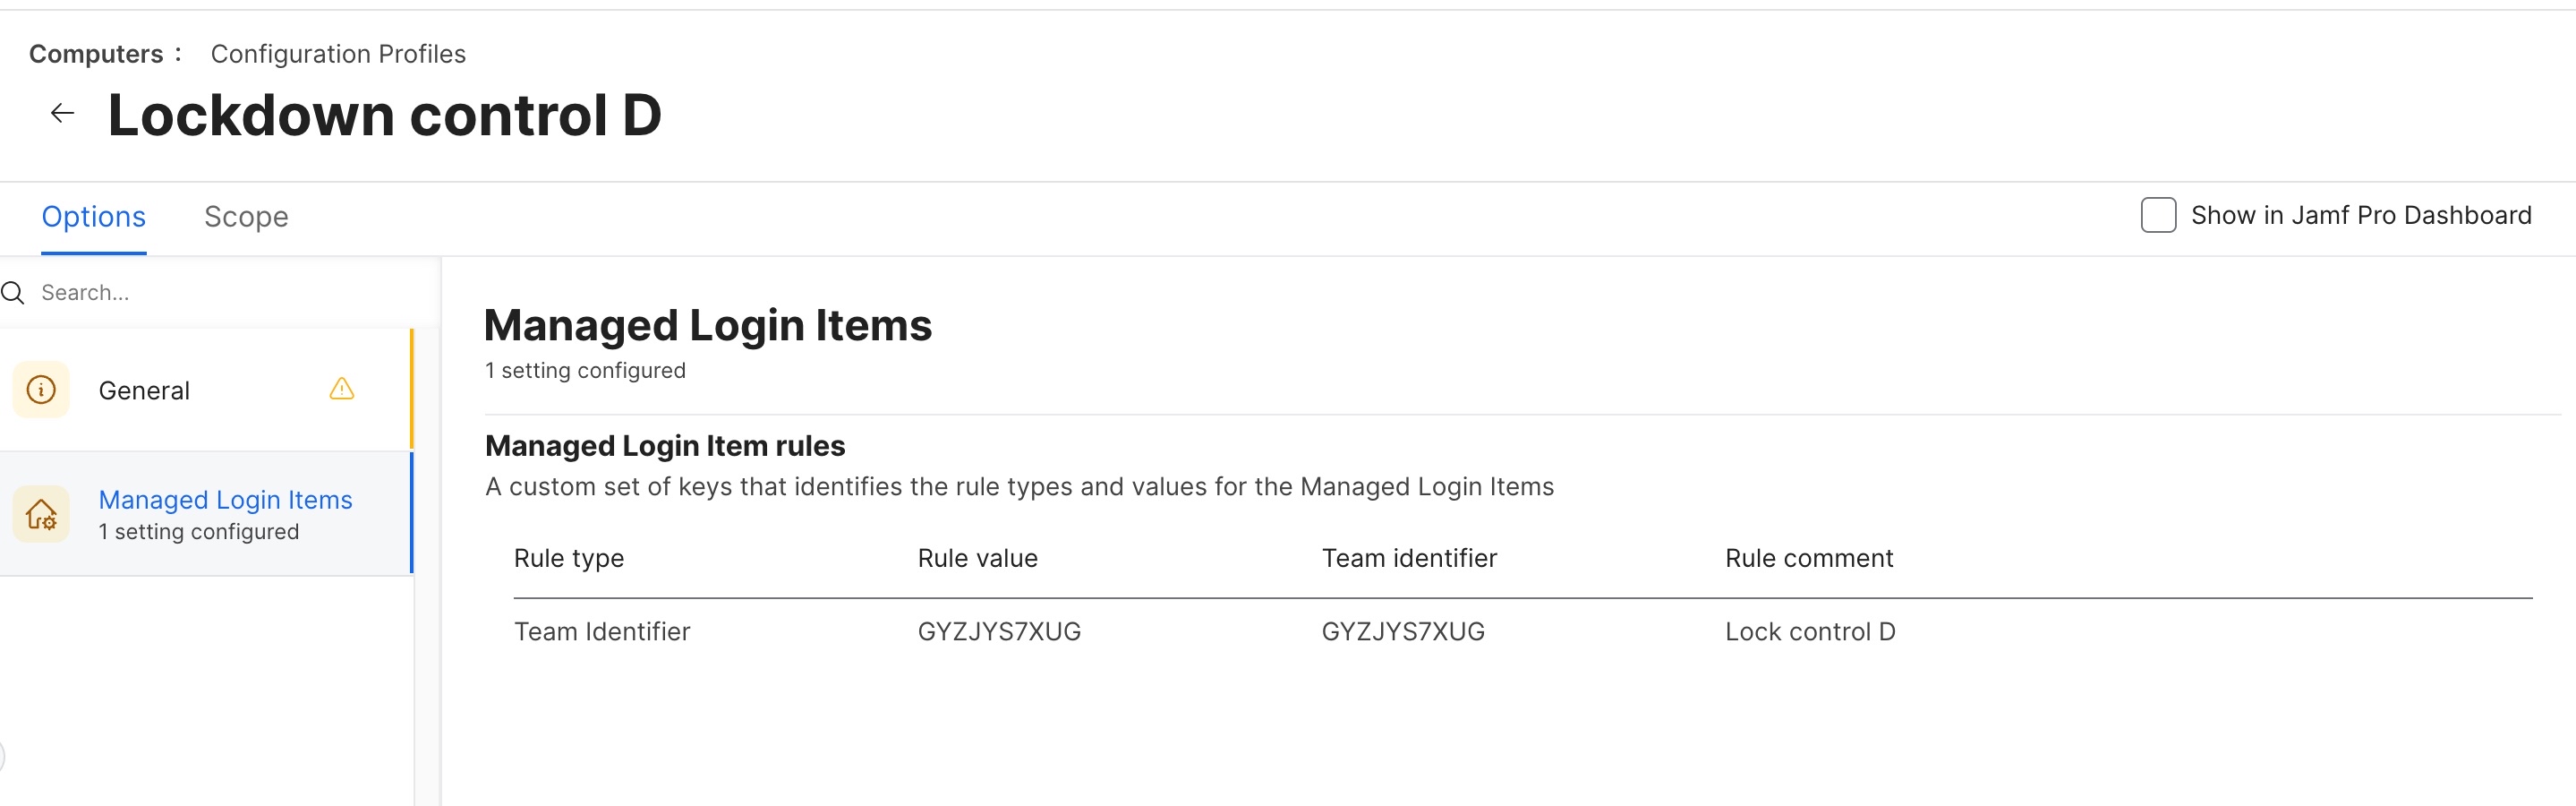
Enter the following:
| Field | Value |
|---|---|
| Team Identifier | GYZJYS7XUG |
| Bundle Identifier | |
| Visibility | Visible (optional) |
| Hide from Users | No |
This enforces a profile that
- Prevents users from disabling the background launch item in System Settings → Login Items → Allow in the Background
- Makes it appear as "Managed by your organization"
- Locks the toggle UI
Updated 9 months ago