
Datto RMM Tutorial
If you use Datto RMM, this tutorial will help you onboard your users to Control D.
Install
Create Provisioning Code
First thing you have to do is create a Provisioning code in the Control D web panel. Go to Devices -> Provision, and click the + button. Fill out the form, and you should see an install command. Copy it.
Expiry Time and LimitBe sure to select the appropriate expiry time and execution limit for the Provisioning code. When this time passes, or the limit is reached, the code will become invalid and cannot be used anymore to provision new Devices. Same applies if you delete this code.
Create Script
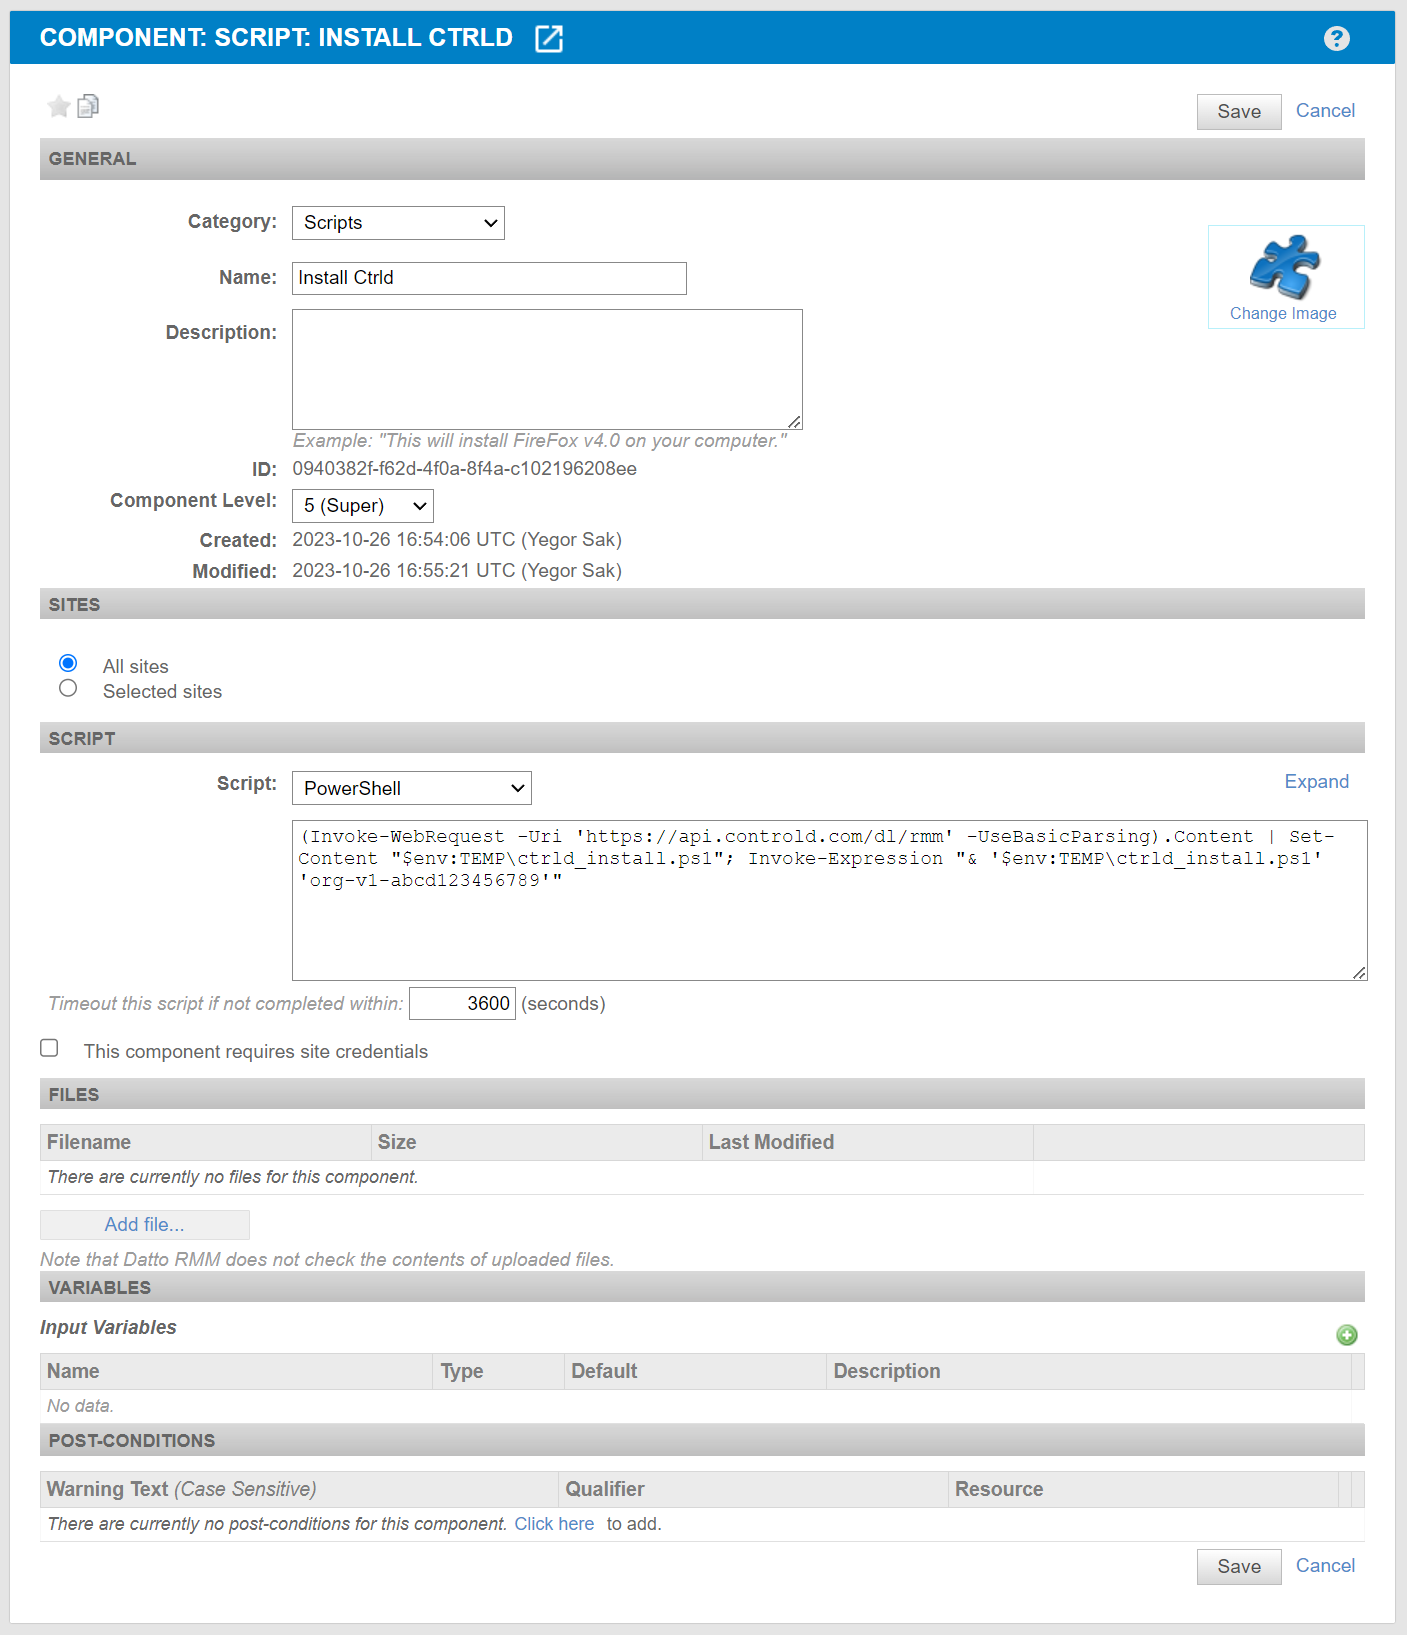
In Datto RMM interface, from the drop down menu at the top choose Components -> New Component and fill out the form. Relevant parts are:
- Category = Script
- Component Level = 5 (Super)
- Choose relevant Sites.
- Script = Powershell
- Paste the script into the box
Execute Script (Job)
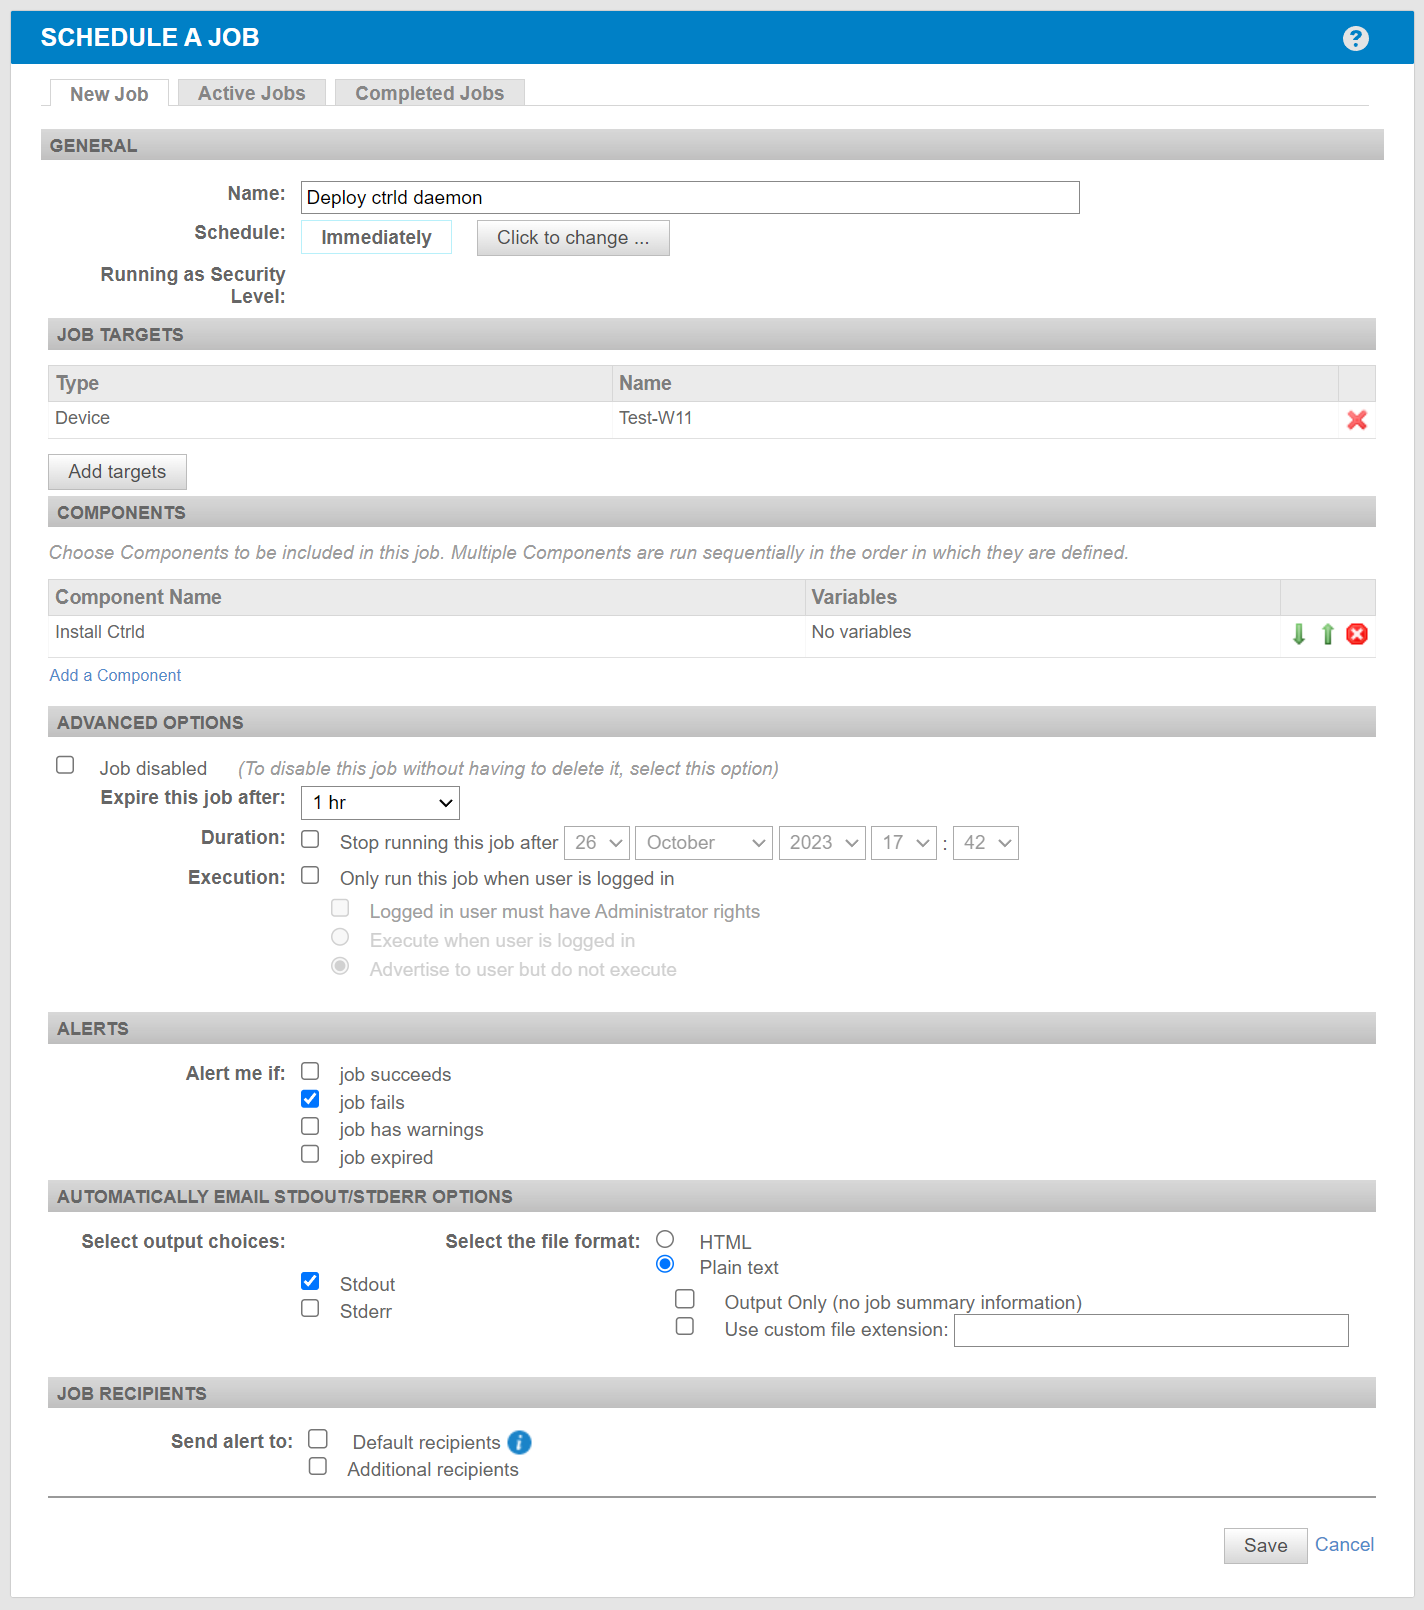
In the Datto RMM interface, from the drop down menu at the top choose Jobs -> New Job and fill out the form as follows. Relevant parts are:
- Schedule = Immediately, or choose a specific date/time - make sure this only runs once.
- Job Targets = Choose appropriate SItes or Devices
- Components = Choose the component you created above
- Alerts = Check "job fails".
- Other fields at your discretion
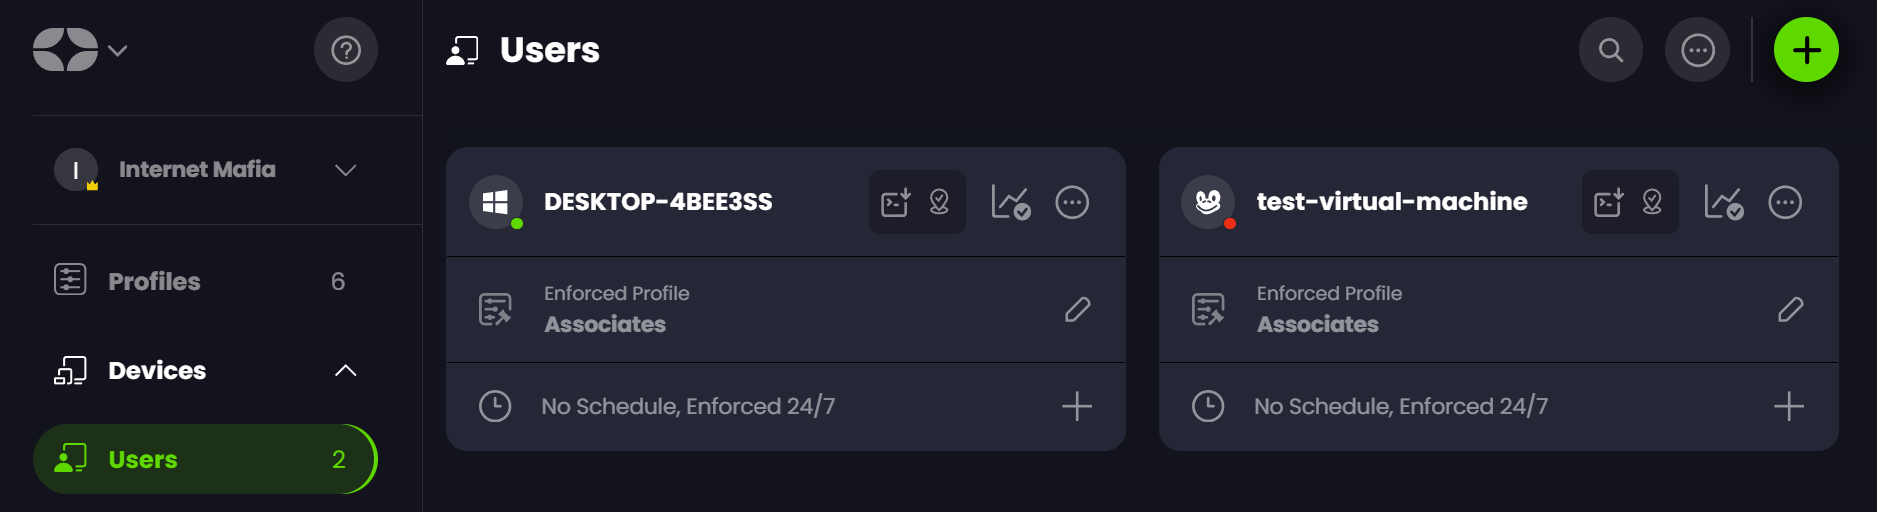
That's it! You're done. If you go to Control D web panel, you should see your Devices popup in the Users section as soon as the job runs.
Upgrade
To upgrade an existing installation to a new version of ctrld create a new Component script with the following contents:
(Invoke-WebRequest -Uri 'https://api.controld.com/dl/rmm' -UseBasicParsing).Content | Set-Content "$env:TEMP\ctrld_install.ps1"; Invoke-Expression "& '$env:TEMP\ctrld_install.ps1'"Then execute it on target machines using a Job.
Uninstall
If you wish to uninstall the ctrld client, create a new Component script with the following contents:
ctrld uninstallThen execute it on target machines using a Job.
Updated 8 months ago